Are you looking to get more shelving space in your house? Well, there are several different ways that you can tackle this task. Plasterboard walls can host shelves efficiently. But populating these walls with a whole frame is a delicate process.
If you’re trying to install shelves on plaster walls in a day, you’re setting yourself up for failure. That said, completing the task is still possible, but you have to work smartly.
In this guide, we’ll help you install shelves on plaster walls quickly and efficiently. When you’re ready to take the next step in upgrading your home, keep reading.
Table of Contents
Understand What Are Plaster Walls
If you want to add extra storage space to your home, installing shelves on plaster walls is a great way. But before you get started, it’s important to understand what plaster walls are.
They are a common feature in many homes, providing a classic and elegant look. However, due to their delicate nature, many need help with hanging shelves on these walls.
Plaster walls are made from lime, gypsum, and water, creating a rugged, smooth surface ideal for hanging shelves. However, drilling into plaster can be tricky, and if done incorrectly, it can cause damage to the walls.
Choose Quality Hanging Shelves
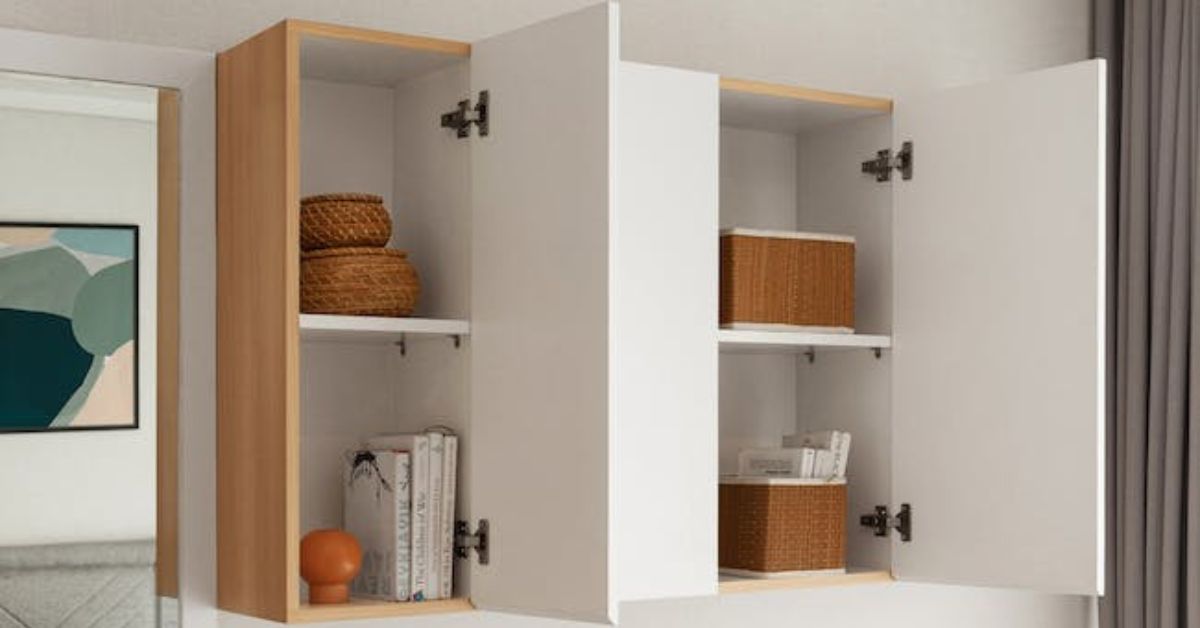
Another tip is to choose quality hanging shelves designed explicitly for plaster walls that can hold the weight of your desired items. For reference on hanging shelves, you can check these custom floating shelves.
Once you have the right shelves, follow the manufacturer’s instructions carefully and use the proper tools to hang them safely. Remember, quality hanging shelves are critical to a successful and safe installation on plaster walls. Don’t compromise on quality to save time.
Gather the Necessary Supplies and Tools
It is essential to ensure that you have all the necessary supplies and tools to provide a successful and safe project. It is especially crucial when installing shelves on plaster walls, as these delicate walls require special care. Gather the drill, level, and wall anchors.
Purchase the appropriate size and style of shelves. It is crucial also to have a stud finder, a pencil, a ladder, a drill with masonry bits, screws, and a screwdriver. Gather a stud finder to locate the wooden studs behind the plaster, as they will provide proper support for the shelves.
Next, you will need anchors or toggle bolts, a level to ensure proper shelf placement, a drill to make holes for the anchors, and the shelves themselves. Having a friend or family member help with the installation for added safety is also recommended. Gathering all the necessary supplies and tools beforehand will make the process safe and efficient.
Gear Up to Protect Yourself
Installing shelves on plaster walls may seem simple, but it can quickly become unsafe if proper precautions are not taken. Before beginning this project, it is essential to gear up and protect yourself. It includes wearing safety goggles to protect your eyes from potential debris and gloves to prevent scrapes or cuts.
Using the right tools, such as a stud finder and drill, is also essential to ensure a secure and sturdy installation. Take your time and carefully measure and mark the placement of the shelves to avoid any mistakes. With the right gear and precautions, you can safely install shelves on plaster walls in just one day.
Prepare Your Plaster Walls
Before starting, it is essential to assess the condition of the plaster walls. Make sure your plaster walls are in good condition. Please inspect for any cracks, crumbling areas, or damage and repair them before proceeding. Next, determine the location and measurements for your shelves and mark them with a pencil on the wall.
Make sure to avoid any electrical wiring or plumbing behind the wall. Use a stud finder to locate the studs and mark them as well. With proper preparation and careful execution, you can install sturdy and stylish shelves on your plaster walls in no time.
Drill the Wall
Remember to drill the wall properly to ensure the shelves stay securely in place. Choose the appropriate drill bit for the type of wall and slowly drill into the marked areas. You can also consult an expert or use caution when drilling into plaster, as it is a delicate material.
Be sure to use caution and wear safety goggles during drilling. By carefully drilling the wall, you can ensure that your shelves will be sturdy and able to hold your belongings without damaging the plaster.
Ensure Proper Spacing
Ensuring proper spacing is crucial to avoid any damage or accidents. Carefully measure and mark where you want the shelves to be placed. Use a level to ensure they are straight and evenly spaced.
Once you have marked the spacing, use a stud finder to locate the studs and drill pilot holes before installing your shelves. It will ensure secure and stable placement. Taking the time to space your frames properly will create a visually appealing display and prevent any potential hazards.
Avoid the Common Mistakes
It is crucial to avoid hanging shelves directly on the plaster, as this can cause cracks and damage. Instead, use anchors or toggle bolts to ensure proper support. Before drilling, locating any electrical wires or pipes behind the wall is essential to prevent accidents.
Use the correct tools and techniques to mount the shelves securely. Avoid the common mistake of using nails or regular screws, as they may not hold up the weight of the frames. Another one to avoid is over-tightening or using the wrong type of screws.
Follow This Guide for Installing Shelves on Plaster Walls
Installing shelves on plaster walls may seem challenging, but with the right tools and techniques, you can safely complete it in just one day. Following this guide, you can ensure a sturdy and secure installation that will make your house more functional.
So go ahead and try it for yourself – transform your walls into functional storage with confidence! Don’t hesitate to embark on this project – grab your tools and start installing those shelves for a more organized and stylish home.
Did you find this article helpful? If so, check out the rest of our blog for more informative content!


